Eye-tracking Fix
As you may notice, sometimes, some VRoid avatars have an issue with the irises clipping through the eyelids when blinking, fortunately, this is a fairly easy fix!
Step 1. Open Model in Blender
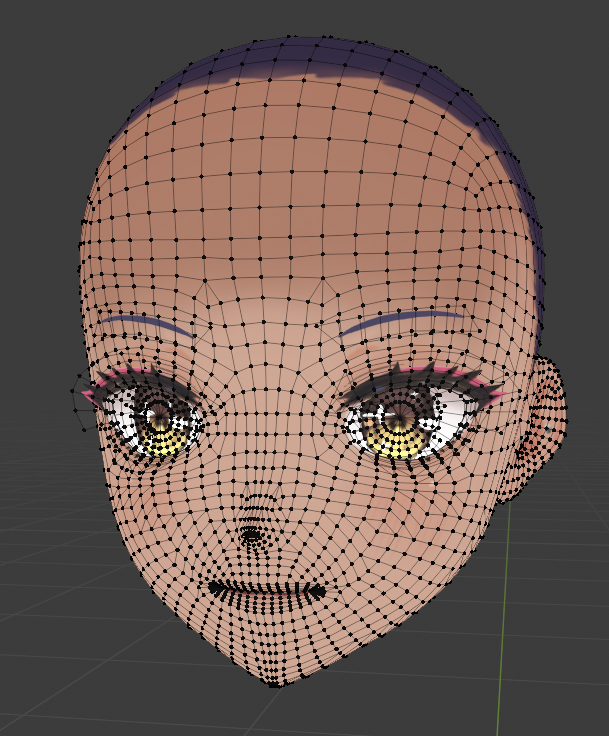
To get it how I have it here, make sure you have your face mesh separated from the rest of your avatar's body, this is easier to work with and also is more optimized. If you don't know how to do this, please read the previous chapter Adding Visemes.
(Tip: if you press 'A' to select all the verts in edit mode, and press 'ALT+J' it will turn (most) of the tris to quads, it isn't perfect but its still nice.)
Step 2. Open the UV editor
You can create or close windows window by dragging the corners of any existing window as such. Do this and switch the new window to the UV Editor window, this will make it easier to select what we want.
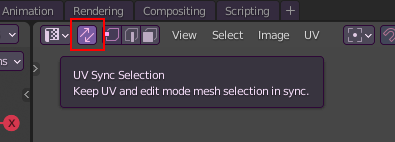
Click the icon with the two arrows parallel to each other in the UV Editor
Step 3. Select the Irises and The Highlights
Select the irises and highlights in the uv editor by hovering your cursor over each UV island and pressing 'L'
(As of VRoid Studio ver. 1.4.x, the irises and highlights will always be at the bottom right of the face texture)
You can now close the UV editor by dragging the Viewport window over the UV Editor window.
Step 3. move those suckers back
Press 'Numpad 3' to switch to the right side of your model, this will make it easier to move them back more precisely.
If you do not have a numpad, go to 'Edit>Preferences>Input' and enable 'Emulate Numpad' and press '3' on your keyboard.
Select the "Move" tool and move your eye back on the Y-axis (the green one), you can hold 'Shift' to move it more precisely.
Don't move it back too far, otherwise it'll look weird.
Step 4. Finished!
All is done, hopefully it will no longer clip out of the eye!


No Comments