Collider Toggles with Udon
This is a continuation from the last lesson, where we will be making a world space UI button to toggle whether players will collide with certain objects, or more specifically, switch those objects between the walkthrough and default layers.
In the project tab, right click, Create>VRChat>Udon>Udon Graph Program Asset. Rename (right click or F2) this to Collider Toggle. Duplicate one of the toggles and rename the object and the label to colliders. Click the toggle and add an UdonBehavior component and drag in the udon script. At the bottom of the toggle component, click the minus button to remove the old slots, then click the plus icon and drag in the UdonBehavior.
Click the program in the project view, and then press “Open Udon Graph”. The Udon tab should pop up now!
The welcome screen should be the first thing you see. You can change the grid size if you want, I like to set it to 20 but that’s just my preference. Now click Open Collider Toggle, and this is the Udon Graph!
Udon is visual scripting, or essentially code, but visualized as nodes rather than as lines of text. I know the word “coding” scares some people, but it’s probably not as hard as you think. If you never want to touch Udon again after this that’s fine, I’ll be holding your hand through this entire tutorial.
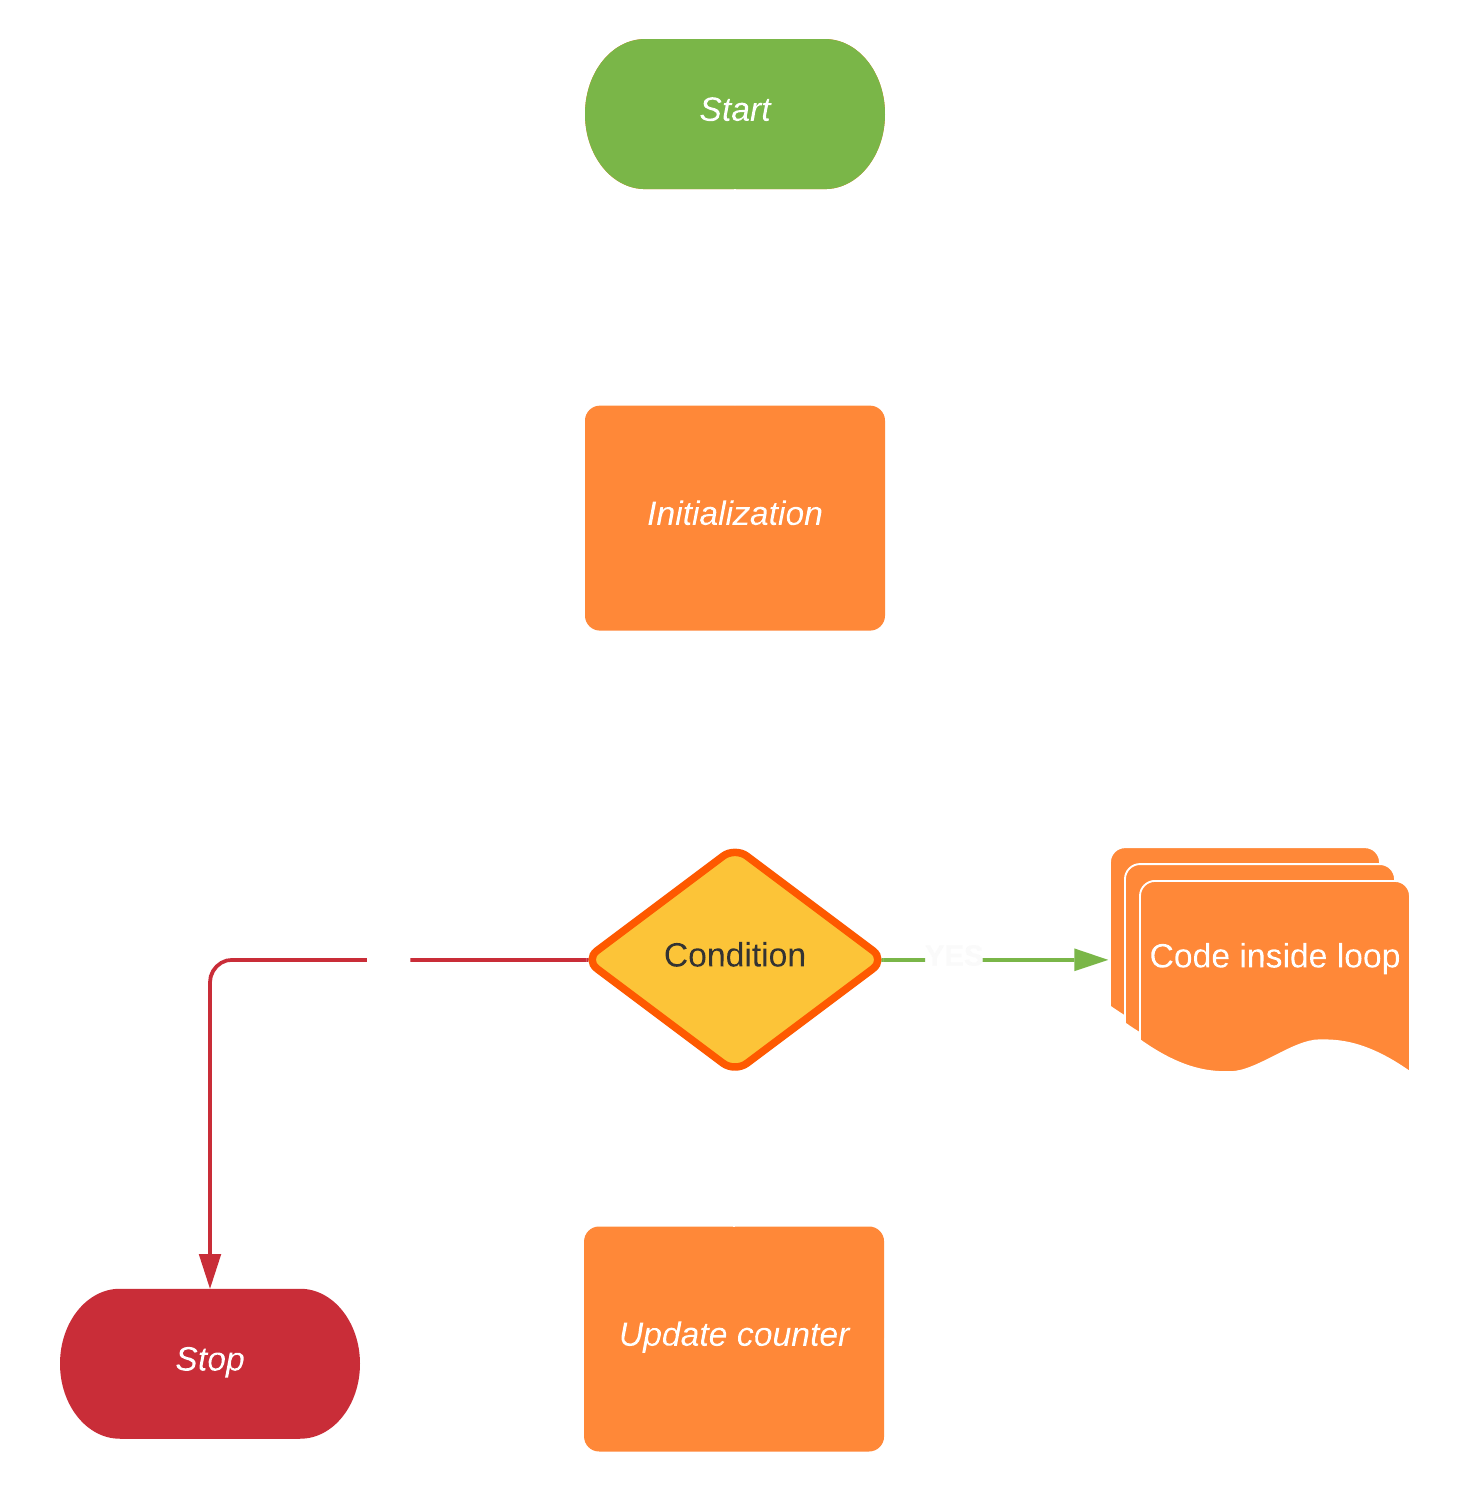
It’s best to first think of how our code would work in a purely logical way, just the steps written in plain English that we can then convert into code.
The prerequisites before our code is run is that all of our objects are on the same layer, and we want to have a list of all the objects we want to toggle.
- When the code starts, we want to check the first object to see if it’s on the default layer. (Since all of them are on the same layer it makes sense that we only have to check one)
- If it is on the default layer, then it means that all of the other objects are on the default layer too, and we want to switch them to the walkthrough layer.
- If it isn’t on the default layer, it means all the objects are on the walkthrough layer and we want to switch them to the default layer.
The first thing we need to create are some variables. Variables are used to store information that can later be referenced or manipulated. There are many types of variables we can create for the many types of data we can use, such as ints which are essentially integers, booleans which are true or false, gameobjects, any type of component among many others. A variable can also be an array, which is a variable composed of multiple variables of the same type. An array is represented with [square brackets] next to the variable type. We can add new variables to our script by clicking the plus in the variables menu in the top left corner.
- The first variable we need is an array of gameobjects, the one with the [square brackets]. Rename it to Targets. Click the arrow beside the new variable and check public; this makes our variable accessible outside of our script. If you click on the collider toggle UI button we made you should see it in the inspector. Drag in all of the gameobjects that are to be toggled. Make sure to drag in the gameobject that actually has the colliders on it! Also, child objects are not affected!
- The last two variables we need are the layers. Layers in Unity are stored in numerical order and must be referenced by that assigned number. If you click the layer dropdown on any component you can see that the default layer is 0 and the walkthrough layer is layer 17. Add two ints and set one’s default value to 0 and the other to 17. Rename them to defaultLayer and walkthroughLayer.
Now we can start adding in nodes! The first thing you should know about them is that individual nodes represent either data or an operation. Sockets on the left of the node are inputs while those on the right are outputs. I know that coding can be pretty daunting for the complete beginner, but you’ll start to understand some of the basics after this lesson.
Press space in the empty grid for quick search; this is how we can add in new nodes. The first node we need is one that starts the rest of the script. That type of node is called an event, and we want the script to be run when the toggle is pressed, so search for “event custom”. Type “ColliderToggle” into the node’s box. Then in the inspector in the toggle component change “no function” to UdonBehavior.SendCustomEvent(String). Copy and paste “ColliderToggle” into the box.
The next thing we want to check is if the first gameobject of the array is on the default layer. First, click and drag the Targets array variable from the menu in the top left into the grid. This will make a node where we can access our array of gameobjects; however, we only want the first gameobject, not all of them. Drag out from the node, then search for and add “get”. This node allows us to get only one gameobject from our array of gameobjects. Since 0 represents the first thing in the array, just leave that in the box. 0 is typically the starting number for things in programming, not 1.
Now we want to get what layer that gameobject is on. Drag out from the get gameobject, search for layer and choose “get layer”.
Now we have the layer of the first gameobject, as an integer. We want to compare it to the integer representing the default layer, to see if they match. Drag from the get layer and search for equals. Drag the default layer variable into the grid and plug it into the int slot. The equals function is comparing the two integers to see if they are the same. If they are, then the output is true; if not, the output is false.
You might have noticed that before we plugged in the default layer, the value in that input was already zero. We can actually click in the box and set it to anything we want. Since the default layer is a constant (it will always be the same, the number 0), we could have simply not created the default layer int variable at all. The reason I told you to is to show that making constants as variables can make your code easier to read, especially if that constant is used multiple times in the code.
Before we move on, it is best practice to organize our code into groups to make it easier to read. Highlight all the nodes we just created except the Custom Event node, right click and then select “create group”. Now all of those nodes are in a big box. Double click group to rename it to “Is the first gameobject on the default layer?”. You can also right click to create comments. This is often overlooked by beginners but it is a godsend when someone else is trying to interpret your code, or when you are trying to interpret your own code when coming back to it after a long time.
All the gameobjects of the array should be on the same layer. If the first gameobject is on the default layer, that means all of the gameobjects in the array are on the default layer and we want to switch all of them to the walkthrough layer. If the first gameobject is on the walkthrough layer then we want to do the opposite.
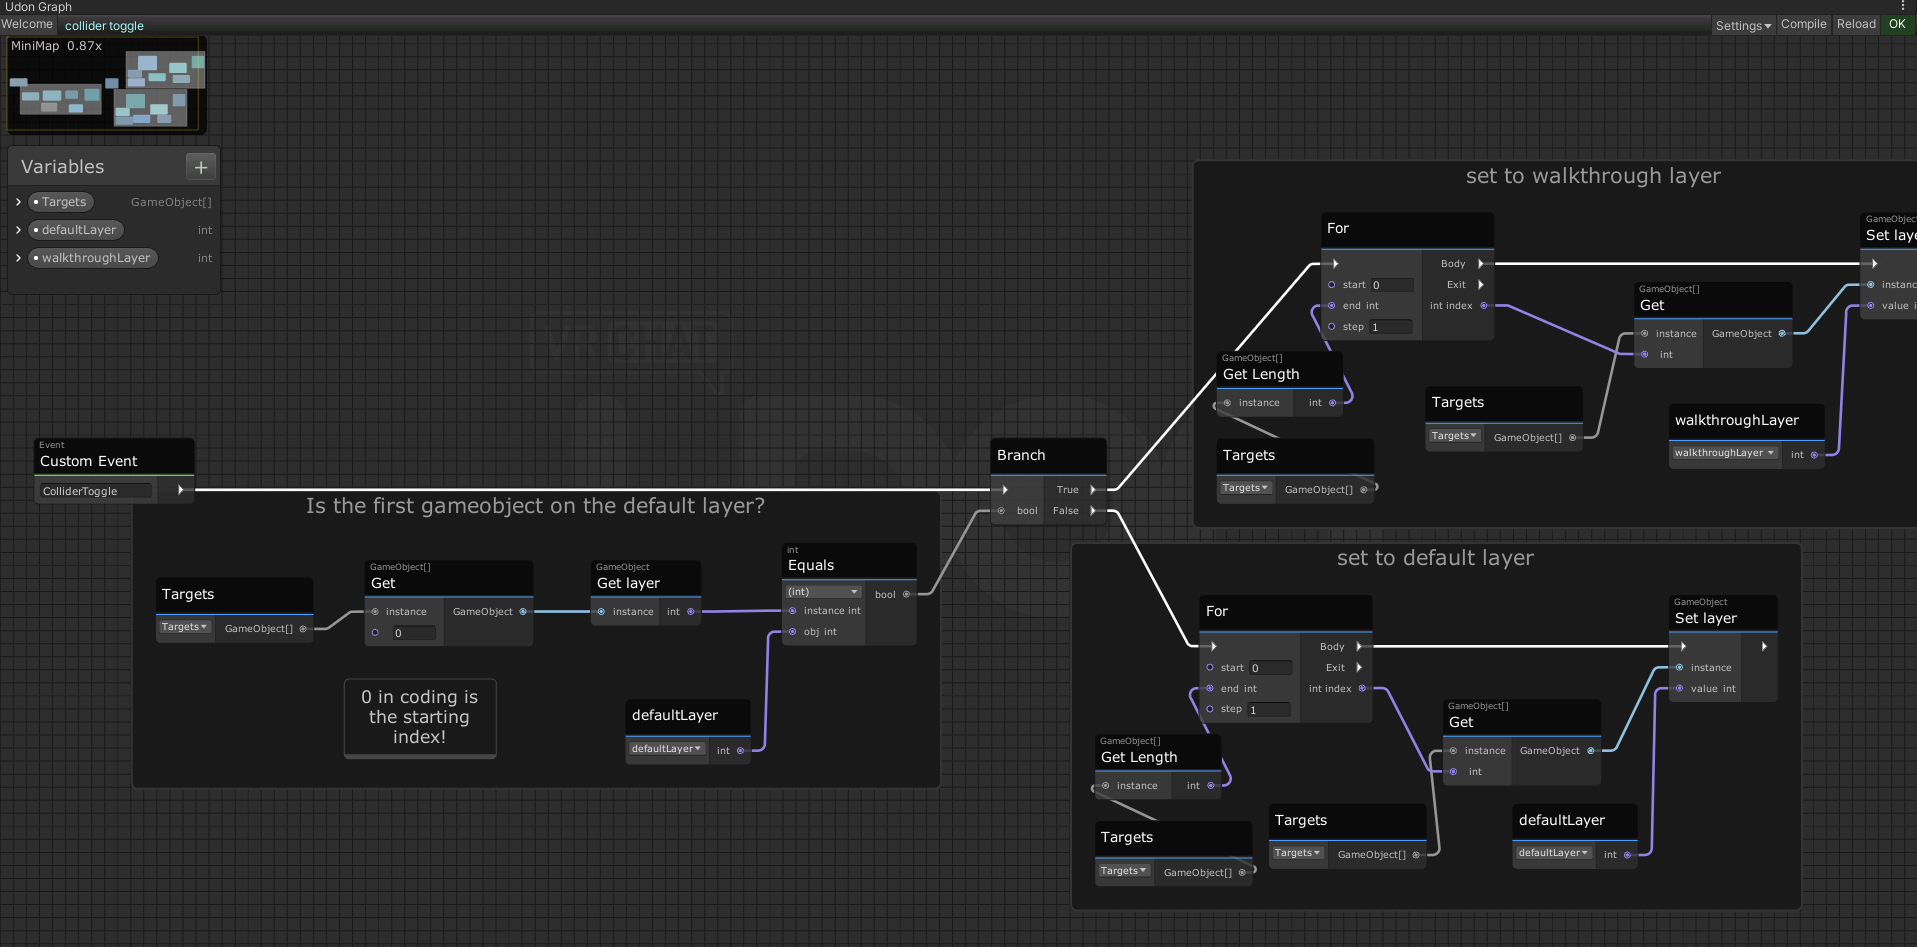
An “if” in our logic is typically an indicator that we want a branch in our code. Drag out from the equals node and search for branch. Drag the custom event arrow to the left branch arrow.
Let’s start with the true branch first. What we want to do is iterate through all of the objects in our array and change them to the walkthrough layer. If we want to repeat the same code, this is typically an indicator that we want a loop. There is a specific loop we can use for an array called a for loop (or a foreach loop if you’re using UdonSharp!). Search for “For” and add it. Drag the true from the branch into the left arrow of the for loop.
Our array starts at 0, so just leave that input at 0. For the end input we want to get how many objects are in our array. Drag the targets array from the variables menu into the grid. Drag from the node output and search for length. Choose the first one, “get length”, with the lowercase g and 2 separate words. Now drag the output of that into the for loop “end” input. We want the step to be 1 so just leave that.
What the for loop does, essentially, is for each gameobject in the array, execute the body of the code. How many times the code is run is determined by the 3 inputs.
Now that we have the for loop set up, we want to just change the gameobject’s layer from default to walkthrough, from 0 to 17. Drag targets into the grid again. Drag out from the output and search for get. This node will give us only one of the gameobjects in the array. Drag the int index from the for loop into the int input of the get gameobject node. This gets us the specific gameobject at the index that the for loop is at. So if the for loop is at the first index, the get gameobject node will give us the gameobject at the first index in the array.
Drag out from gameobject, search for layer and choose set layer. Drag the walkthroughLayer variable into the grid and connect it to the int value input. Now connect the body arrow from the for loop to the set layer node
And that’s it for the true branch! For each gameobject in the array, that gameobject’s layer will be set to the walkthrough layer! Outline all the code and create a new group, name it set to walkthrough layer.
The false branch is actually really similar. Just select all the nodes from the true branch, press ctrl+d to duplicate them, drag them down and then replace the walkthrough layer with the default layer. Connect the false branch to the for loop, create a new group called “set to default layer”, click compile at the top right of the window and you’re done!
Now just test it using CyanEmu (press play)!
You can use Debug Log to send messages to the console when running a script. This is incredibly helpful for troubleshooting.
I want to stress that I cannot help you in the YouTube comments section. For some of you, because you are new to coding and Udon something may go wrong. The YouTube comments section is not engineered so I can give you much back-and-forth help. Your best bet is to look at the console for errors if there are any, look them up yourself, use debug log to troubleshoot yourself, and if none of that works then ask in the udon channel of the VRChat official discord (or the udonsharp discord if you are using udonsharp). Again, please do not ask in the Youtube comments section. I can’t help you.
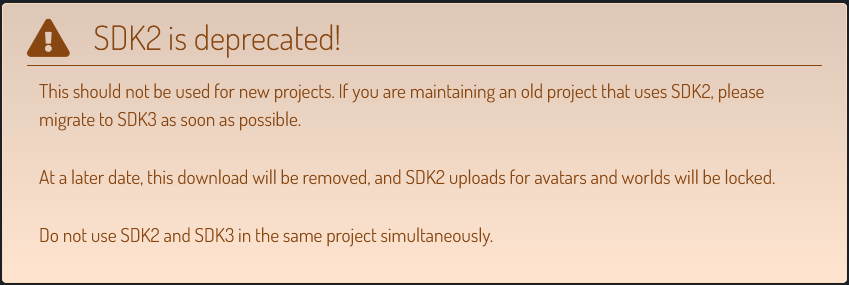
There is a simpler way of creating these Udon systems for SDK3 which emulates the way in which Triggers worked in SDK2; it’s called CyanTriggers and this is an extension can be downloaded either from Github for free or from the creator Cyanlazer’s Patreon for the most up to date version. I’m not familiar with either of these and to avoid importing too many external tools which may be subject to change I didn’t cover it. I would recommend Cyantriggers to anyone who doesn’t already know coding and doesn’t want to learn it or to anyone who is more familiar with triggers from SDK2 and wants to use a workflow more similar to that. SDK2 is now deprecated so I would never recommend it to anyone starting a new project.
If you want to create udon programs using more traditional line-by-line C#, you can check out UdonSharp.
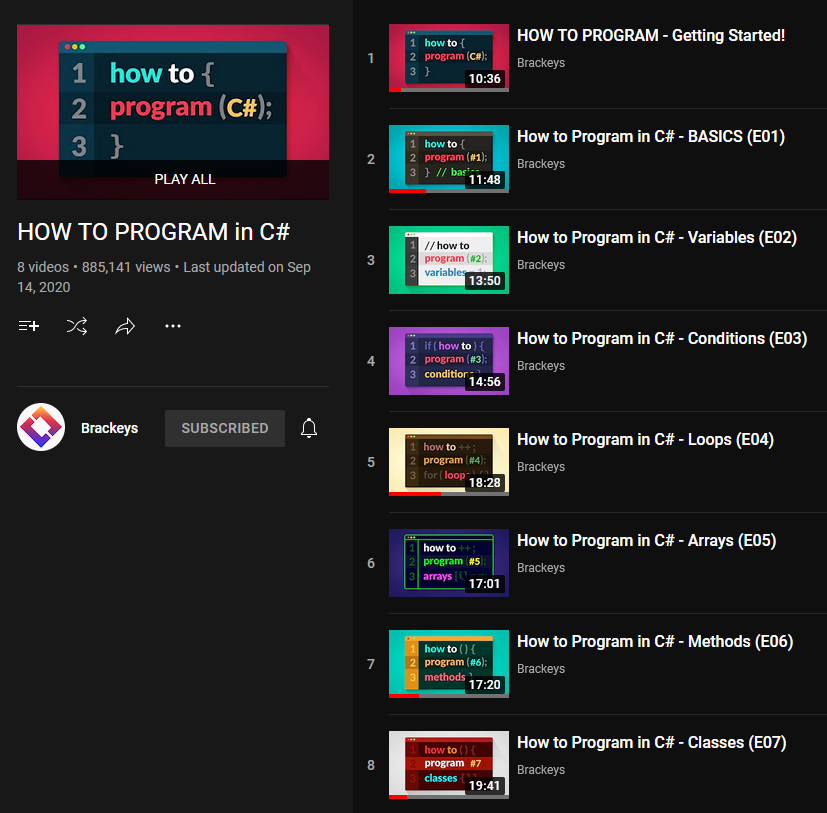
If you want to learn more about coding, specifically C# which Unity and UdonSharp uses, I would recommend checking out the beginner series by Brackey’s. He used to make a lot of really good Unity tutorials so these tutorials have in mind that much of the audience wants to learn the basics of C# so they can program in Unity.
If you want to learn more about coding for VRChat in both Udon and UdonSharp, I would recommend watching Vowgan’s tutorials. These are the coding tutorials that are going to be the most specific to VRChat but I would recommend having a decent grasp on the basics of coding first.

In the next lesson I’ll go over pickupabbles and physics!
No Comments